Figuring out the best headset, microphone, and camera to use in Teams calls can be a pain. Usually, dedicated hardware is best and delivers better results than the microphone and speakers built into workstations. Using a dedicated camera is a harder call because the quality of cameras available in workstations today is pretty good.
But even after you’ve settled on the hardware, you still don’t know how well it works from the perspective of other people on Teams calls. Which is where the ability to make a Test Call comes in.
Making a Teams Test Call
To make a test call with the desktop client (the option doesn’t exist in the browser client), click your avatar (picture) in the top bar and select Settings, then Devices. Make sure that the right audio devices are selected for the test and then click Make a test call (Figure 1).

Teams makes the test call to a bot. Unlike human beings, bots are always ready to accept a call, even from annoying people. The bot answers and allows you to record some words before playing the words back to you to check if the quality is acceptable. Only English-language calls are supported currently. At the end of the call, you see some test results (Figure 2).

Microsoft removes the recording of the test call after you finish.
The test call verifies that you can connect to Teams to make a call in the same way as you’d call into a meeting. It tests the selected audio devices and it shows you what you see on the camera (and demonstrates why you should turn background blur on). It does nothing to improve your voice or looks, but aside from that, Test Call is a pretty useful function.


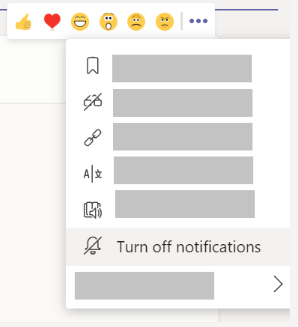
 on a notification. From the menu, you can mark a notification as read or unread. You can also turn on or off notifications for a specific channel if you want.

 in the meeting controls.

 to see a list of everyone in attendance. Anyone who's raised their hand will have an icon next to their name. When multiple people raise their hands, they'll be listed in the order in which they raised them.
 to narrow your results.
